Daring Bakers: Life of Pie

The end of June is approaching, meaning it’s time to share another Daring Bakers’ challenge!

Rachael from pizzarossa was our lovely June 2013 Daring Bakers’ host and she had us whipping up delicious pies in our kitchens. Cream pies, fruit pies, chocolate pies, even crack pies! There’s nothing like pie.

cclifeofpie00

Pies are something that I love but get really easily intimidated out of in the kitchen. It’s more to do with the crust than anything. When I first started baking I attempted a number of pies, and they were largely hit and miss. Mostly miss, for when I tried unmoulding them from the tin they would either stick or snap or crumble or all of the above. So I ran away from pies. This challenge was a good way for me to test the waters again and see how I’d go now that I have many more kitchen hours under my belt.

There were four pies on offer. I went from saying I’d do one to taking on three of them!

It began when I told Cameron it was pie month and said he had to choose a pie. Ha. A pie. We both wanted to try different ones and both had different ‘top picks’ out of the lot. He was driven by his tummy, and I was driven by aesthetics. So I resolved to bake both of our top choices and the one we both wanted in common.

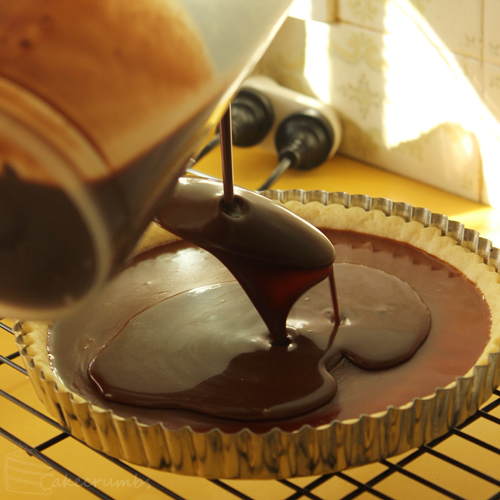
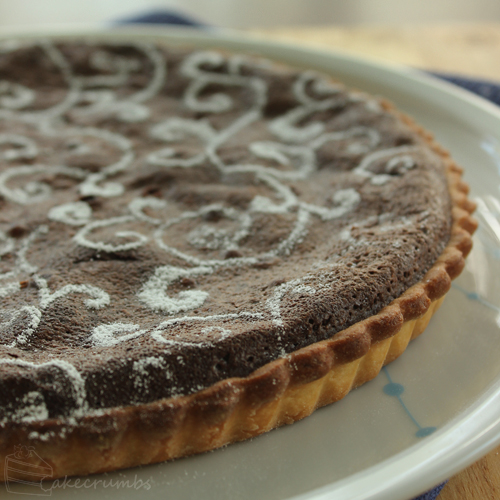
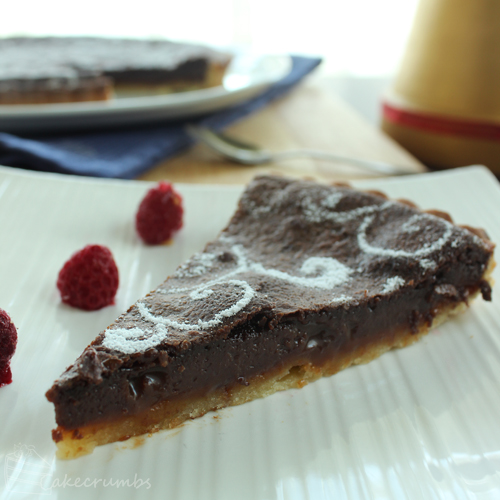
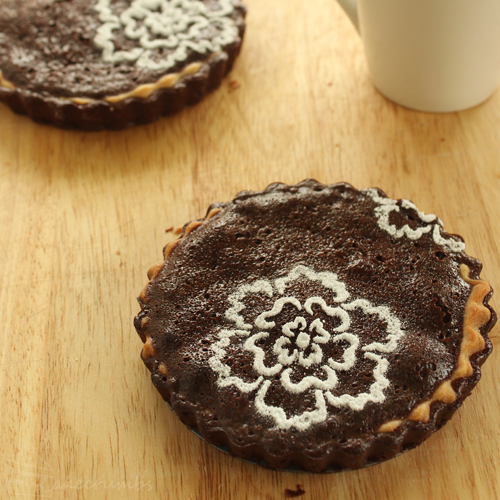
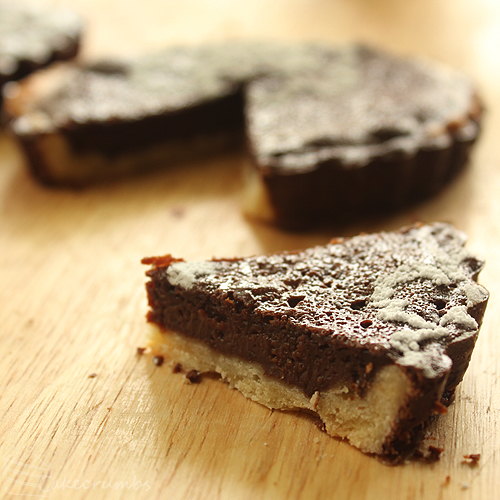
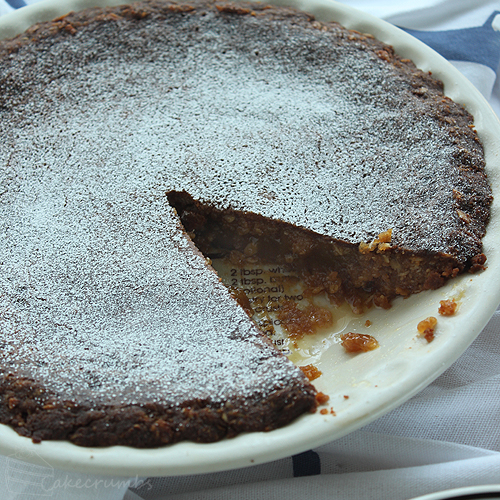
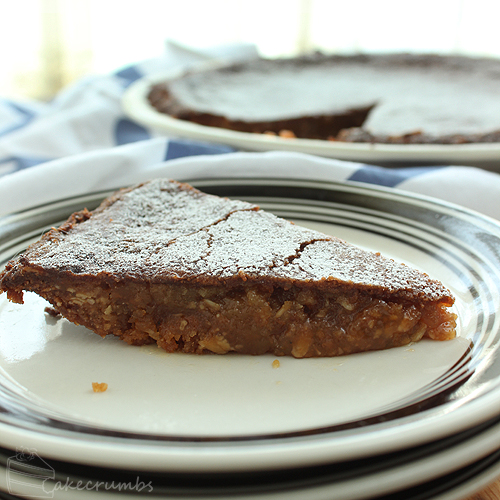
Beginning with our common ground was the Chocolate and Caramel Tart. This was definitely a tummy driven one on both our parts and we both wanted to try this. I mean, how can you say no to chocolate and caramel? We sure couldn’t.

cclifeofpie01

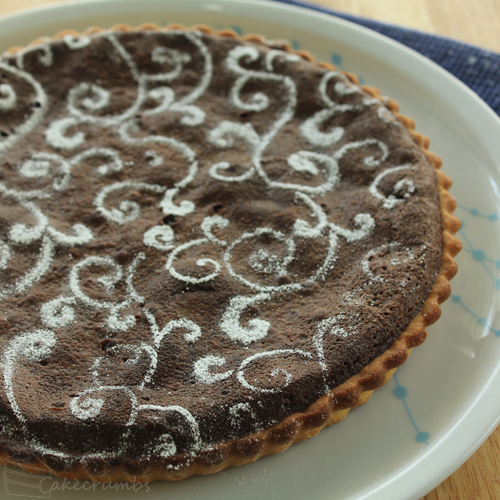
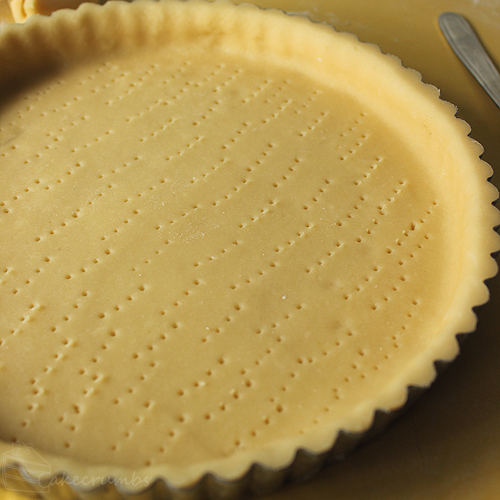
The really awesome thing about this challenge was that all three pies required really different techniques. This one began with an egg yolk mixture and a crumbed flour and butter. I do confess to cheating here. I inwardly groan any time I see a recipe that asks you to rub the butter into the flour. So I used a food processor and gently pulsed the butter and flour together until it was just combined and resembled fine breadcrumbs. It saves so much time. Once you have your flour ready it’s time to get your hands really dirty and start working the egg mixture into the flour.

cclifeofpie03cclifeofpie02 cclifeofpie04

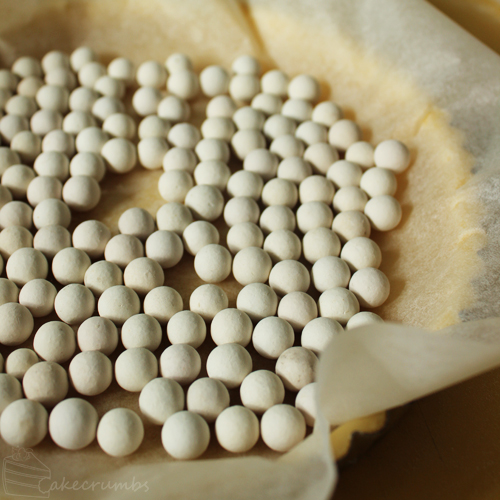
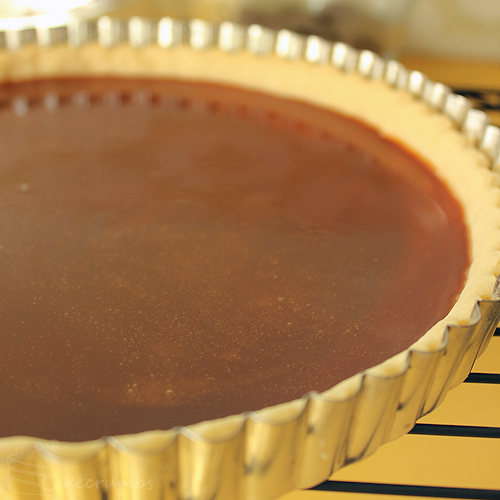
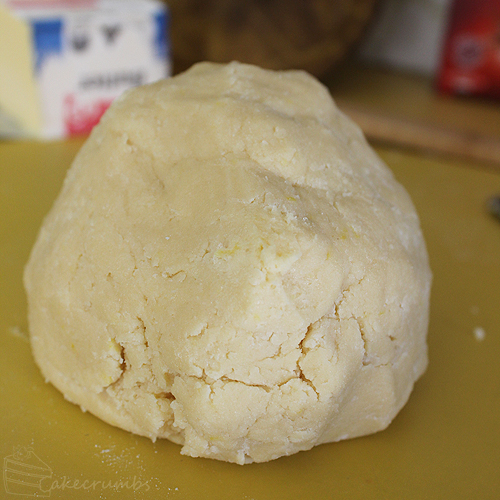
The dough needs to be worked really gently to not develop the gluten in the flour too much. You want it to just come together, then leave it be. This dough doesn’t need to rest in between stages, so you can whack it straight into the tart case. It has to be blind baked, which gave me a use to get out my sadly neglected ceramic pie weights. They’re really cheap and you can find them in just about any supermarket or homeware store, but if you can’t something like rice works just as well.

cclifeofpie05 cclifeofpie06 cclifeofpie07
Next comes the delicious caramel. This part was a familiar process. You simply make some toffee from sugar, then add some warmed cream so it stays nice and gooey when it cools. I added a little salt to the caramel because I prefer salted caramel when ti’s accompanied with something else sweet. After that you need to add the chocolate mousse layer without disturbing the toffee. The easiest way to gently pour liquids onto each other I’ve found is to use the back of a spoon. I transferred the mixture to a jug and poured it over the back of a massive spoon so it wouldn’t dig a tunnel into my toffee. It worked pretty well.
cclifeofpie08cclifeofpie09
 After a little time in the oven it will be ready to  devour. Well, once you let it cool that is. I used my favourite stencil and dusted a little icing sugar over the top.
cclifeofpie10
For someone used to pie failure I was certainly surprised with the result. The pastry was perfect: short, crumbly and light. The toffee added that little bit of bitterness to counter the sweetness of the chocolate mousse. And the mousse was just delicious. Light, chocolatey, rich – everything you could ask for. It’s quite the rich tart so you’re gonna want a relatively small slice. That or a huge appetite!
cclifeofpie11 cclifeofpie12
I ended up with some leftover dough and mousse so I popped it in some mini tart pans, reduced the baking time and repeated the process sans the caramel. In my effort to use it all up I over-filled the cases and had some leakage so I ended up with mousse inside the pastry shell inside the mousse. Pieception. It’s definitely better with the caramel, but I wouldn’t say no to this version either.
cclifeofpie13 cclifeofpie14

_______________________________________________

Next up came Cameron’s first choice: the Crack Pie. He read about it and loved the sound of it. All I saw was an ugly pie and I wanted to bake something pretty. He really wanted it, though, and after hearing all the rave reviews from other bakers in the Daring Bakers forum I finally caved in. It can’t always be about the pretty things. Sometimes it has to be all about the tasty things, right?

cclifeofpie015
This one is a very different process to the other two. It begins with making a giant oatmeal cookie! One you will have to resist the urge to eat. It smells so good.
cclifeofpie15 cclifeofpie16

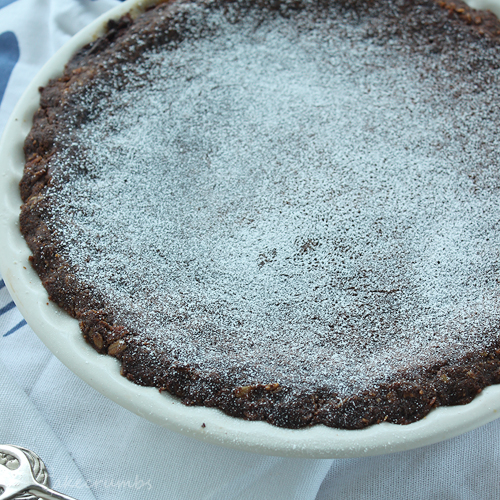
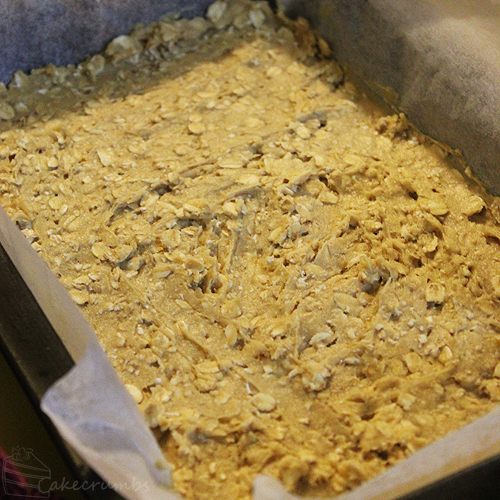
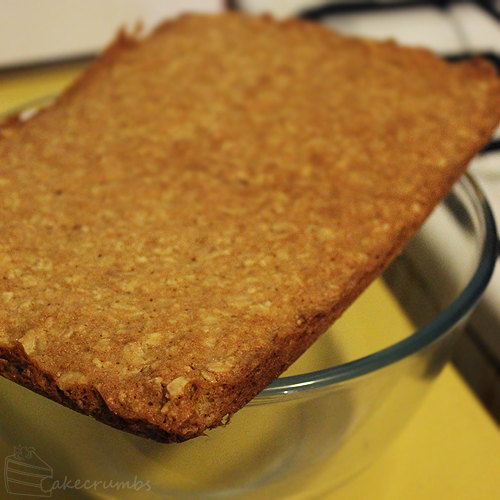
Once it’s baked and cooled, you crumble it up and make the pie base out of it. Quite similar to making a cheesecake base really.

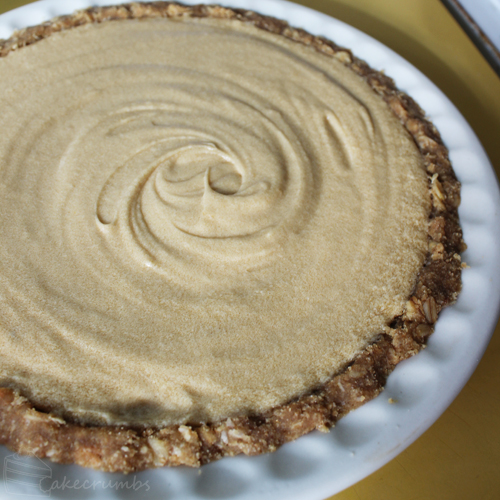
As well as embracing three separate pie making techniques, I wanted to give them three very different looks, so I decided to use an array of different pie and tart dishes that have been neglected in my fear of pie. Rather than making them all in tart pans and having them all free-standing, I wanted to give some a more rustic look.

cclifeofpie17

Next is just a simple matter of making your filling and baking it. The mixture will rise while it’s baking, then sink when you remove it from the oven to cool. Don’t panic, it’s completely normal for it to sink.

cclifeofpie18 cclifeofpie19

Once it’s cool, you can give it a smattering of icing sugar to brighten it up a bit.
cclifeofpie20
Then, I discovered because I do not read recipes ahead, you’re supposed to let it cool overnight. Heh. Well, we needed it for dessert than night so there went the rules. I let it cool enough to cut then dug right in. I suspect my pie was slightly undercooked in the middle. I’d been baking it longer than the recipe advised and it was getting quite brown so I decided to remove it. Even after the rest of it cooled overnight my centre was a bit more gooey than I suspect it is supposed to be. However, since I’ve never tried a crack pie before I have no idea what it’s supposed to look like. None of us cared much, though, because it was so good.
cclifeofpie21
A lot of people in the Daring Bakers forum said it tasted like pecan pie without the pecans. I haven’t had pecan pie but it must be true because Cameron said the same thing. I just knew it was yum. And that my ugly-pie-snobbery was oh so very bad, because this just might have been my favourite of the lot. From the oat cookie crust to the sweet centre and the crispy top, it was hard to get enough of this dish. As well as being the most delicious, it is the least technical, the quickest and the easiest of the lot.
cclifeofpie22

_______________________________________________

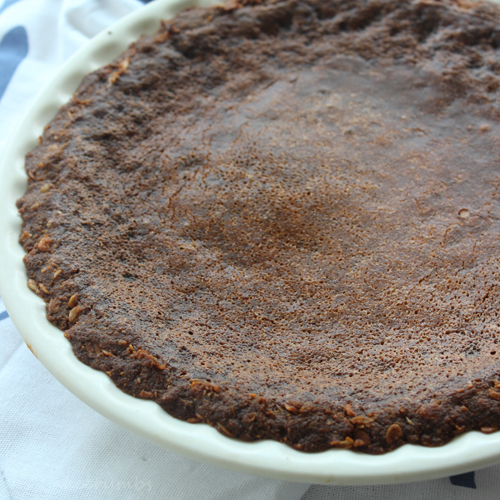
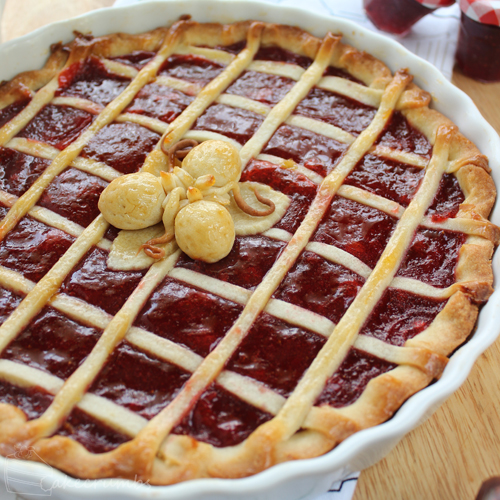
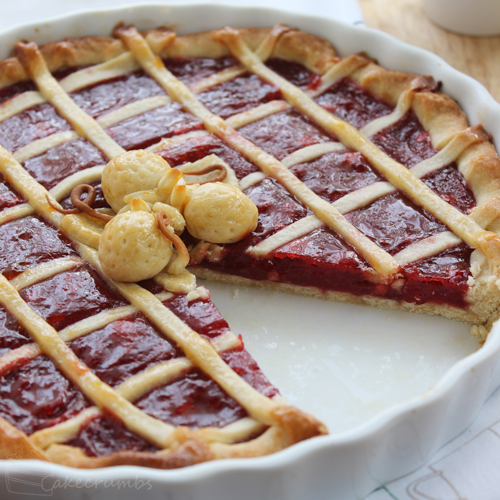
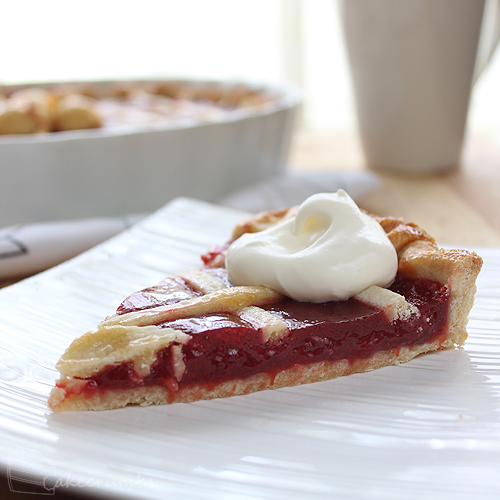
Last of all was my first preference: the Crostata di Marmellata. I wanted to bake this one because it was pretty. And red. I love red. And there were strawberries. Strawberries!

cclifeofpie023

Strabwrries are painfully expensive here at the moment. Being the middle of winter, it’s to be expected. But after the summer of abundance we’ve just had where I was scoring kilos of this amazing fruit for a pittance, paying $5 a punnet is hard to swallow. But I so wanted to try this pie anyway, so I stuck with the strawberry version.

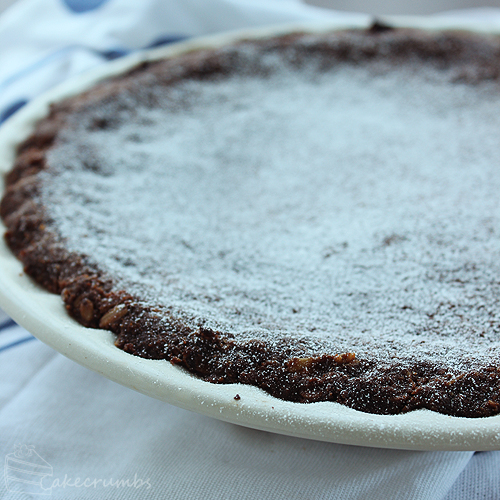
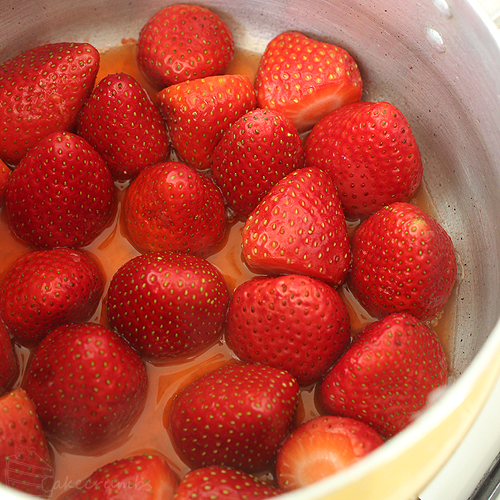
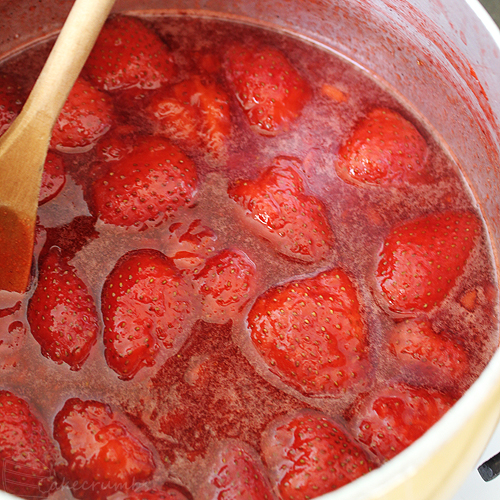
Not gonna lie, when it came time to boil them into a jam I was sorely tempted to just eat them instead.

The dough for this recipe requires a lot of resting, so it’s a good idea to get onto this first. The dough has to be handled even more gently than the first and should only be mixed until the flour is just combined into it. It’s not worked or kneaded at all and has to get straight into the fridge for an hour. Then, once it’s in the pie dish it has to rest in the fridge once more.

cclifeofpie26 cclifeofpie27

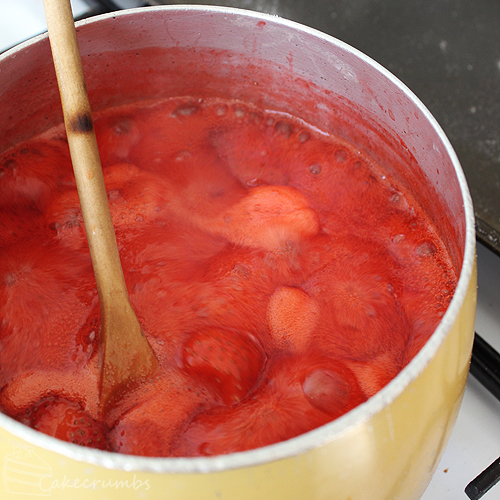
While the pastry is having a nap in the fridge, it’s a great time to begin the filling. To make the marmellata, you place the strawberries, lemon juice and witer in a pot and gently cook until the strawberries release all their juice and are soft to the touch. Then bring it up to a rolling boil and cook until set. Pretty simple stuff. If you don’t have the time to do it all in one day, you can make it in advance and just reheat it when you need it.

cclifeofpie23 cclifeofpie24 cclifeofpie25
Once your base is baked and cooled, you can add the filling and adorn it with a lattice. If you’ve made a successfully light dough you might find it hard to make a complex lattice. Mine was really light and fragile and kept breaking when I tried to be fancy, so I ended up keeping it simple. You can make the lattice as big or small as you like. I like thin, dainty lattices personally.
cclifeofpie29
I baked a couple of pastry strawberries on top just because I couldn’t resist adorning it a little more.
cclifeofpie30
The pie cuts really nicely and looks a treat. But how it looks is only half as lovely as it tastes. It’s a lot sweeter than I thought it might be, but packed full of fresh flavour. I served it with a little cream, for what else could go better with strawberry jam? The previous two pies make for luscious desserts, whereas this one is better suited to a nice afternoon tea with a warm drink and good company.

cclifeofpie31 cclifeofpie32

If you’d like to bake either of these three pies, here’s how you do it. Recipe are adapted from those given to us by Rachael:

Chocolate and Caramel Tart
Ingredients
Pâte sablée

1 egg yolk

70g caster sugar

250g plain flour

125g unsalted butter, chilled, cubed

50ml cold water

Filling

Caramel

100g caster sugar

100ml cream, heated

1/2 tbsp salt (optional)

Chocolate Mousse

2 free range eggs

100ml milk

75g icing sugar (optional)

200ml cream

200g dark chocolate, chopped

Method
Pâte sablée

  1. Preheat oven to 180°C (160°C fan-forced/350°F). Grease an approx 26cm tart pan with removable base.
  2. Wish the egg yolk and sugar together wiith a teaspoon of the water until pale and fluffy.
  3. Meanwhile, place the flour, salt and butter in a food processor and gently pulse until mixture resembles fine breadcrumbs.
  4. Turn the flour mixture onto a work surface and make a well in the centre. Add the yolk mixture and the remaining water, then use your fingers to incorporate the flour mixture into the egg mixture until it is combined.
  5. Using the palm of your hand, push the dough away from you to smear it across the work surface. You don’t want to use a kneading motion, you only want to bind the dough together. The dough should not be springy.
  6. Lightly flour your work surface, then roll the dough out with a rolling pin until about 3mm thick. Press the dough into the tart pan, then use your rolling pin on the edge of the tart tin to cut away the excess dough. Prince the base all over with a fork, line with baking paper then fill with pie weights.
  7. Bake for 9 minutes, or until set. Remove the paper and pie weights, then bake for a further 6 minutes, or until dry.
  8. Allow pastry to cool.

Filling

Caramel

  1. Scatter the sugar into a heavy based saucepan and cook over low heat until sugar dissolves. If it’s colouring quicker around the edges, you may stir it as it heats. Keep cooking the sugar until it turns an amber/caramel colour.
  2. Pour in the warmed cream a little at a time, stirring to incorporate. The caramel mixture will bubble and steam so mind your hands. Add the salt and stir to incorporate.
  3. Set mixture aside to cool to room temperature, then pour into the tart case.

Chocolate Mousse

  1. Preheat oven to 180°C (160°C fan-forced/350°F).
  2. Whisk together the eggs, milk and icing sugar in a medium bowl.
  3. In a small, heavy-bases saucepan bring the cream to a boil; remove from heat and add the chocolate. Stir until chocolate has completely melted. Allow to cool to room temperature.
  4. Pour the chocolate mixture into the egg and milk mixture and stir gently until combined.
  5. Gently pour the mousse mixture over the caramel mixture in the tart case.
  6. Bake tart for 30 minutes, or until the filling has set but has a slight wobble in the centre.
  7. Allow tart to cool to room temperature, unmould the tart then serve.
Crack Pie
Ingredients
Oat Cookie Crust

125g unsalted butter, room temperature

70g brown sugar

30g caster sugar

1 free range egg

80g rolled oats

70g plain flour

1/8 tsp baking powder

1/8 tsp bicarb soda

1/4 tsp salt

Filling

170g caster sugar

100g brown sugar

8g dry milk powder

1/4tsp salt

115g unsalted butter, melted

100ml thickened/whipping cream

4 egg yolks

1 tsp vanilla extract

Method
Oat Cookie Crust

  1. Preheat oven to 180°C (160°C fan-forced/350°F). Line a approx 33x22x5cm baking tin with baking paper.
  2. Cream 85g of the butter, 50g of the brown sugar and the caster sugar in a medium bowl. Beat until light and fluffy. Beat in egg.
  3. Fold in the dry ingredients until combined, then press mixture into baking tin.
  4. Bake for 18 minutes, or until light golden. Tranfer to a wire rack to cool completely.
  5. Once cooled, crumble cookie into a bowl with your fingertips until it resembles coarse sand. Rub in the remaining butter and brown until well combined.
  6. Press mixture into a pie dish until you’ve formed a solid base.

Filling

  1. Preheat oven to 180°C (160°C fan-forced/350°F).
  2. Wish sugars, milk powder and salt together in a medium bowl; whisk in melted butter until combined.
  3. Beat in the cream, then the egg yolks, then the wanilla until mixture is well combined.
  4. Pour filling into the crust and bake for 30 minutes. Reduce temperature to 160°C (140°C fan-forced/325°F) and bake for a further 20 minutes. Filling should be browned and set around the edges, but the centre should jiggle slightly.
  5. Cool pie completely on a wire rack, then allow to cool in the fridge overnight.
Crostata di Marmellata
Ingredients
Strawberry Marmellata

500g strawberries, washed and hulled

2 tbsp freshly squeezed lemon juice

1/8 cup water

25g jam setting sugar with pectin (or weigh according to manufacturers instructions)

250g caster sugar, warmed (can warm sugar in the oven at 150° for 6 minutes)

Pasta Frolla

150g unsalted butter, room temperature

75g sugar

1 free range egg

1/2 tsp vanilla essence

grated zest of one medium lemon

225g plain flour

pinch of salt

Glaze

2 tbsp apricot jam

1 tbsp lemon juice

Method
Strawberry Marmellata

  1. Place strawberries, lemon juice and water in a large pot. Cook over medium heat until strawberries release their juices and are softened.
  2. Add setting sugar and warmed caster sugar; stir over medium heat until sugar has dissolved. Bring to the boil and cook for 10 minutes or until jam is set, stirring occasionally.
    NB: To test for setness, place a small plate the the freezer when you begin. When jam is cooked, remove plate from freezer and spoon a small amount of jam onto the place. Wait 30 seconds, then grag your finger through the jam. If set, jam will crinkle. If not, cook for a further 3 minutes and repeat test.

Pasta Frolla

  1. Cream the butter and sugar until pale and fluffy. The longer you cream the butter for, the softer but more fragile the dough will be.
  2. Beat in the egg, then the vanilla, then the lemon zest.
  3. Stir in the flour and salt until just combined. Do not over mix.
  4. Wrap dough in plastic wrap and rest in the fridge for 30 minutes to an hour.
  5. Remove dough from the fridge and let it stand at room temperature for 30 minutes. Meanwhile, grease a 24cm pie dish.
  6. Roll out dough between two pieces of baking paper until 3-5mm thick. Press into the pie dish, then trim away the excess. Reserve dough scraps for making the lattice. Roll down the edges of the dough and crimp with your fingers to form a patterned edge (refer to above photo). Refrigerate for a further 30 minutes.
  7. Preheat oven to 180°C (160°C fan-forced/350°F).
  8. Line pastry case with baking paper and fill with pie weights. Bake for 15 minutes, or until set.
  9. Remove from oven. Remove the paper and pie weights and allow case to cool.
  10. Fill the case with the warm strawberry marmellata.
  11. Roll the remaining dough out to 3mm thickness and cut strips of dough to desired thickness. Arrange strips over the pie to form a lattice. Lightly pinch the ends onto the edges of the pie crust.
  12. Bake for 20 minutes, or until lattice is golden.

Glaze

  1. Heat the jam and lemon juice in a small saucepan over medium heat, stirring, until mixture boils. Strain mixture through a sieve to remove any lumps.
  2. While glaze and pie are still warm, brush the glaze over the lattice crust.
  3. Allow pie to cool completely, then serve,

_______________________________________________

15 thoughts on “Daring Bakers: Life of Pie

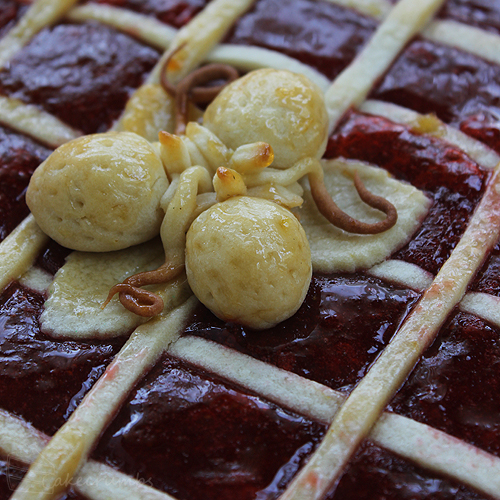
  1. What a gorgeous post. I absolutely love your crostata (those pastry strawberries are so sweet!) and the stencil on your chocolate caramel tart is beautiful. And that crack pie… I can’t WAIT to make it myself!

  2. They are all just so very beautiful! The pastry strawberries and the stencil are both brilliant, so pretty. Thanks so much for baking with me this month 🙂

  3. Now I understand why you were pouring the mixture over the spoon! All these pies were delicious. My family enjoying helping finishing them off too. 🙂

  4. Pingback: Daring Baker: Nutella Crostata | Kitchen Bound

Leave a reply to cakecrumbs Cancel reply