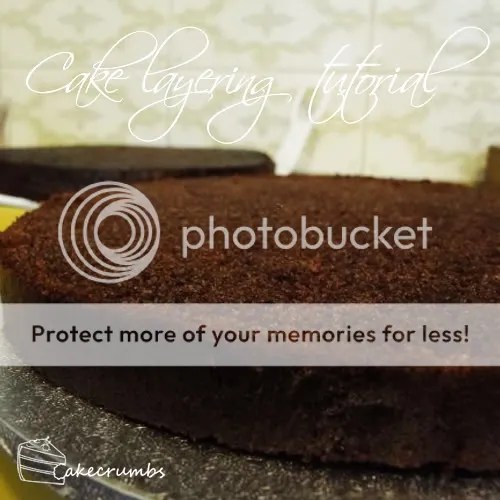
Cake layering is one of those things a lot of us hate. It takes great knife skill, a great knife and practise. Many of use end up spending lots on cake decorating equipment to make the process perfect.
I was one of them. I wasn’t too bad at eyeballing it, but my knife would often dip towards the back and I would be left with a cake that had to be stacked exactly how it was cut in order to achieve a remotely level cake. For tiered cakes, this just did not cut it (whoa, pun). So I spent $50 on Wilton’s Large Cake Leveler and I can unreservedly say it is the biggest waste of money I have encountered since emptying my pockets on cake decorating equipment. It sits at the back of my cupboard collecting dust. The blade simply bows and what happened was that I ended up with cakes that were cut on a massive diagonal. The beautiful, flawlessly layered cakes it promised are, I am convinced, unachievable with this contraption.

So what if I told you you could perfectly layer a cake with this:

A piece of string? Piece of cake! I spent a long time avoiding this method as I figured it would be too time consuming. In reality, it feels much quicker than it looks, but best of all gives perfect results every time. It’s now my go-to method.
So, start off with a level cake. You may chop the dome off if there is one, but this cake turned out pretty good so I left it as is. As this was to be a fondant covered cake, I turned it upside down. This gives you nice, sharp edges to work with and is great for presentation.

Next, choose how many layers you want and how big you want these layers to be. I prefer 3 layered cakes for standard cakes. Take a ruler and insert a toothpick at the height(s) you’ve chosen. I went for 2cm layers. Continue to do this around the entire circumference of the cake at intervals that you are comfortable with. Mine tend to be roughly 10cm or more apart.

Take a serrated knife and, ensuring the blade is level with your toothpicks, slice 1cm into the crust. Do this the whole way around the cake. The traditional method does not use this step, but I find it is better. Going straight to the string works well on moist cakes, like this one was, but I prefer to be safe than sorry. For drier cakes, I’d definitely cut into the crust first.
Some people at this step just cut straight through the cake with the knife using the toothpicks as a guide. If you are going to do this, you will find it easier to use skewers.

Once you’ve cut into your cake, it will look like this:

Make sure you have sterilised your string. Take it, and slip it into the cut you have made around the entire circumference. Here, I remove the toothpicks as the first two times I tried this method, the string caught one or more of them and dragged the toothpick with it between the layers, which meant it caused divets and was not perfectly even.
Holding each end of the string securely, pull the ends towards one another. The string will slice through the cake. You will know when it has gone all the way through as the string will be completely straight. I actually tend to hold one end still and pull the other, so my string completely exits the cake when it has sliced through.

Remove the string and take off the first layer. Repeat with the subsequent layers.
You will be left with perfectly even layers. Hooray!

These days, when it comes to baking everything is modernised. There’s always a product, a shortcut that will do the job for you. But sometimes, the best results are achieved by going back to basics.


Very clearly written. If only all instructions were this clear!
If only all instructions were so pun filled! 😉
The cookie doesn’t always crumble that way. 😉
Oh har har. Trust you to always out-pun me. 😛
This is really cool! I work at my family’s bakery and I’m just starting out learning how to decorate cakes (as the “artistic one” it looks like that will fall entirely to me once I’ve got the basics figured out). We ended up taking cake decorating classes (sponsered by Wilton) at an art store and had to buy a ton of cake decorating stuff to use in the classes, including the nigh next to useless cake leveler! I don’t think I’ll be able to convince them of this string method right now though; maybe once I’ve got more experience they’ll let me try it out.
Oh that’s really interesting! Especially to hear that you also had trouble with the cake leveler. Best bet with this technique is to try it at home first – the first time doing it is usually a bit slower. If you find it as simple as I do, once you’re speedy with it you can know their sock off at how perfect your layers are. 😉
Pingback: Daring Bakers: Cinnamon Rolls | Cakecrumbs