
A lot of people have a childhood affinity with pop tarts. I have a childhood affinity with pop tart commercials. It was something I always saw on the television, wanted to try but my parents weren’t interested in buying them. A common story from my childhood. My parents seldom had the money to pay the bills so anything non-essential was a giant no. Every time someone in my generation freaks out about something we had as kids, I freak out too but from an I-remember-those-ads perspective. Pop tarts are on that list.
Then one day they just kind of disappeared. I remember the ads disappearing, Cameron remembers them disappearing from the shelves as well. That childhood treat seemed determined to remain in our childhood only.

A few months ago I was grocery shopping with Cam and we came across them. His eyes lit up and he launched into the same nostalgic tales most people do when they hear the words ‘pop tarts’. I decided it was time I grabbed a packet not just to satiate his nostalgia, but also so I could finally see what all the fuss was about.
I’m glad I had a pop tart expert on hand, cause the packets carried approximately zero instructions on how to actually heat them. We got a mixed pack of flavours, all of the iced variety.
They were nice enough, but they have that processed treat taste I can’t get nuts over. Which I suppose as a kid is something you love. Sugar sugar sugar. Anything sweet is usually a winner. As an adult I’m a bit more fussy. That’s probably also influenced by how much more baking I do. Now most anything out of a packet isn’t especially satisfying and I end up wanting to make it myself. This was certainly the case here.
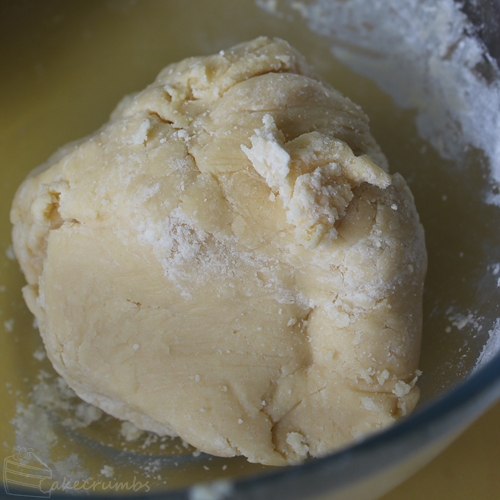
The secret to making these something really special was going to be in the pastry as far as I was concerned. I did a bit of Google image searching and a lot of what I found seemed to be made from puff pastries. I definitely wanted something less flaky and closer to the biscuit-like texture of the pop tart. A nice buttery short pastry, but not so short as to make it difficult to shape. I went for my favourite pie pastry that uses the creaming method: pasta frolla. An Italian short pastry.
The texture of this pastry depends entirely on how long you spend creaming it. The longer, the more flaky and soft the texture is. But also the more fragile difficult the pastry is to work with. Either way, you will likely find it difficult to get very thin unless you roll it between two sheets of baking paper. If you’ve gone for the light texture and spent a lot of time creaming the butter and sugar like I did, you might then find it difficult to remove from the baking paper without it breaking. Easy solution: after rolling the dough out, whack it in the freezer for a few minutes. It will chill it just enough to be easy to manoeuvre.
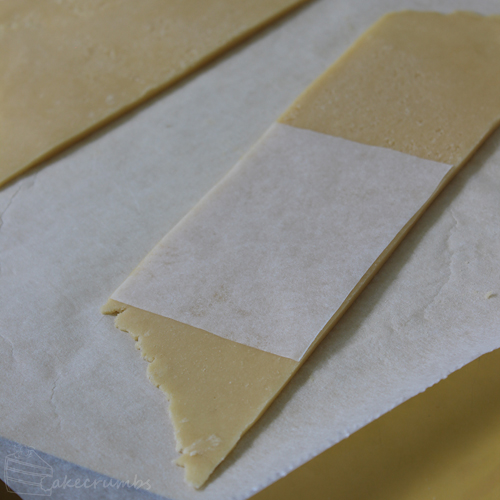
To cut it you can use a ruler, or you can take the cheaty option like me and make a little template so you don’t have to keep measuring. It makes the cutting process really quick. My template was 7.5 x 11 cm, simply to mimic the size of the actual pop tarts, but you can make them any size or shape you want.
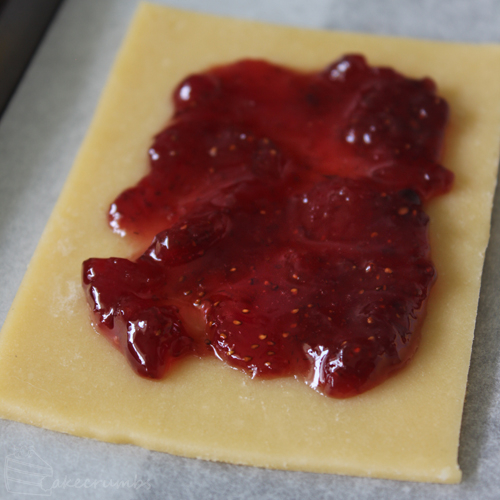
Pop half of your pastry shapes on a tray lined with baking paper, then you can devise your fillings. They can be as simple or as complex as you feel like. For this run I was mostly just trying to see if the pastry would turn out how I wanted, so I kept the fillings really simple.
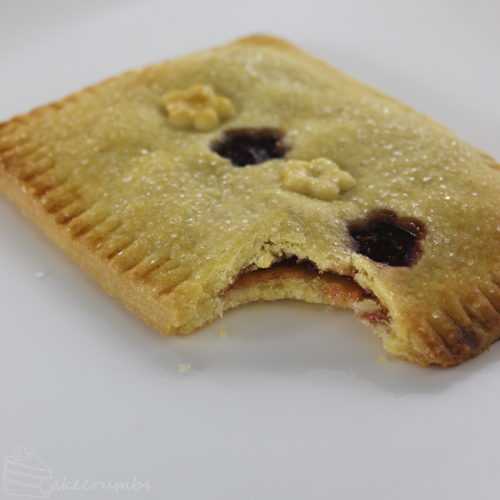
I started off using a home made strawberry jam I had in the fridge, seen in this recipe here. Leave a decent border around the filling, but apart from that you don’t need to be too glamorous about the placing of the filling. It’s going to boil and even out as it bakes.
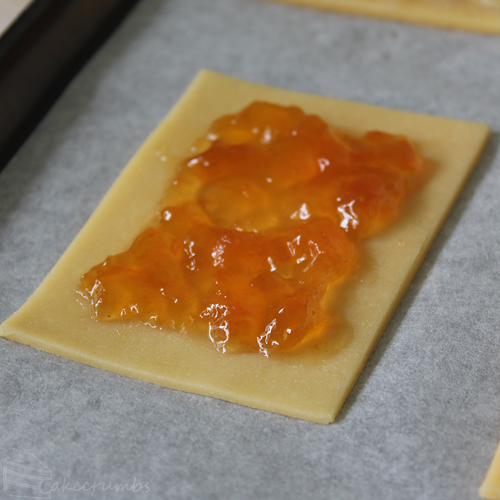
Next was an even simpler option as I went for a store bought apricot jam. You will want to use high quality jams that have loads of flavour, as they’ll make the pop tarts all the more special.
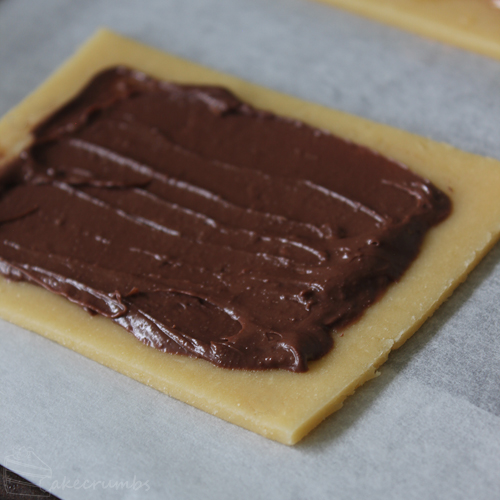
For the third flavour I couldn’t help but have a chocolate option, and what better than Nutella?
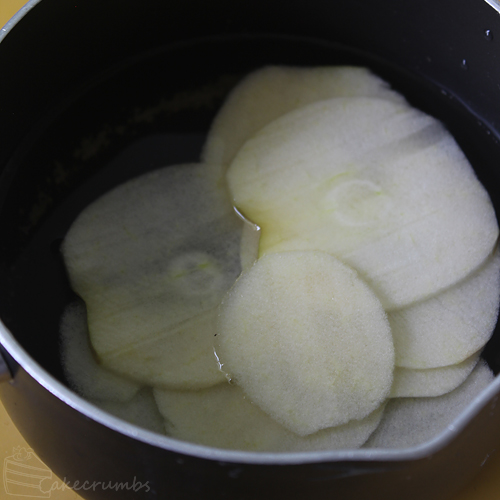
The last flavour I chose completely based on Cam’s stories of his favourite childhood flavour: apple and cinnamon. This will take a little more preparation than the other, but which I mean you can’t just scoop it out of the jar. Well, you could use a jar of apple sauce if you want, but why when this way is so simple? First you want to peel and finely slice your apple. Then put it straight into a pot of water to stop them from oxidising in the air.
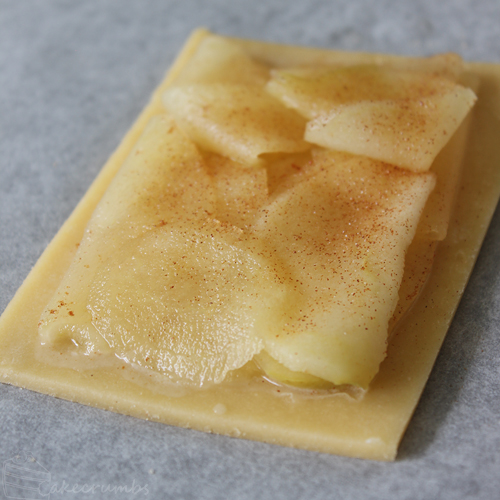
Then I just quickly blanched the apple. They’re cut so thin they really don’t take much. By the time the water is at a rolling boil they’ll be pretty much done. You only want them to be tender enough that you can fold them. As soon as they were done I dipped them straight into a half/half mixture of cold water and lemon juice with a dash of cinnamon sugar before placing them onto the pastry. Then I sprinkled on a bit more cinnamon sugar because reasons.
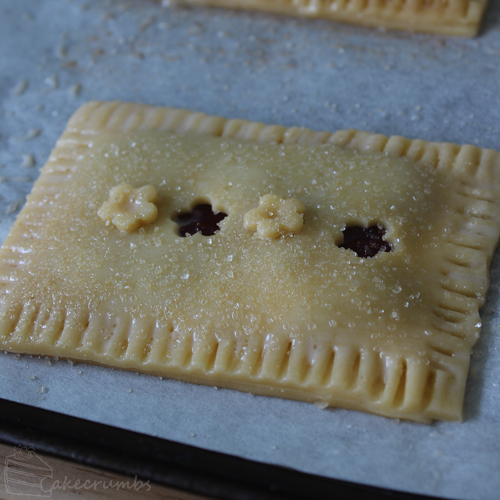
Now all that’s left is to top them with more pastry! You’ll want to give them all air vents. The jam is going to boil as it cooks and will look for the quickest exit, and you don’t want that to be out the seams! If you’re going to ice them you probably only want to prick them with a fork or cut a tiny nick in them. if you’re not icing them you can cut out some shapes instead.

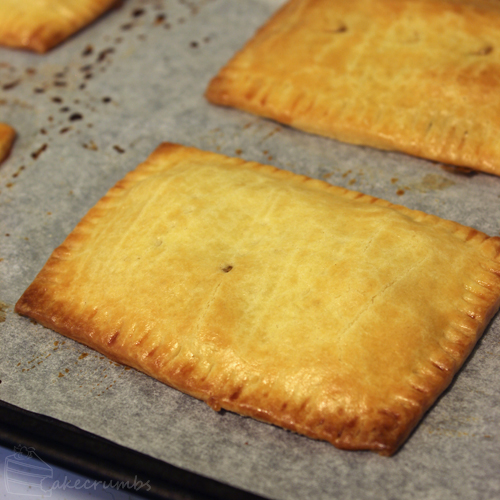
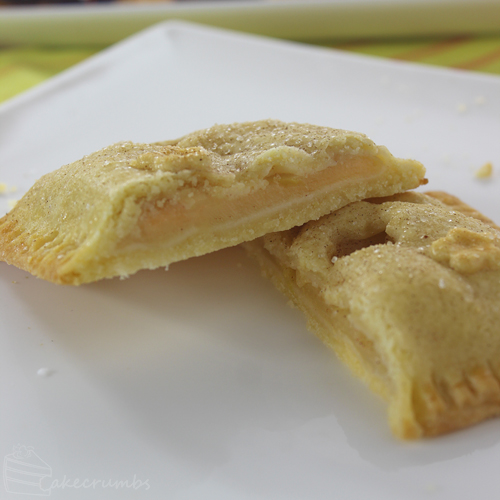
To finish them off you’ll want to crimp the edges and give it an egg wash to bring out that golden colour. For the two flavours I wasn’t icing, I also sprinkled them with some raw sugar, and a little more cinnamon for the apple one.
Pop them in the oven until they turn golden brown. For me this was about 17 minutes. As tempting as it is to eat them straight away, let them sit for 5 minutes. In that time the pastry will crispen up even more to a biscuit-like texture. If you want to ice them you can do that after they’ve rested.
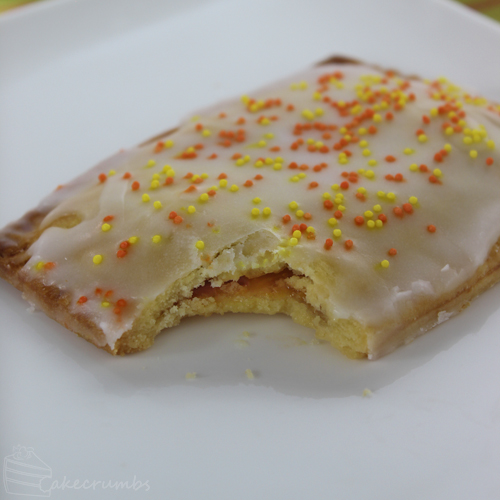
You don’t need to be fancy with the icing. I simply dumped a bit of icing sugar in a bowl and added the water drop-by-drop until it was the right consistency. I iced the apricot one, then added some cocoa to the mixture before icing the nutella one. The icing will crust over quickly so immediately add the sprinkles if you want them on.
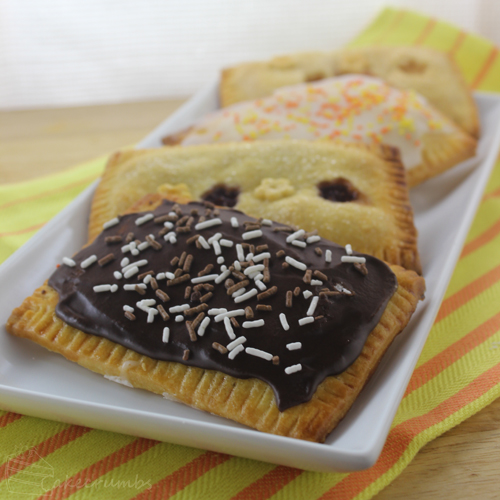
The hardest part is deciding which one to eat first!
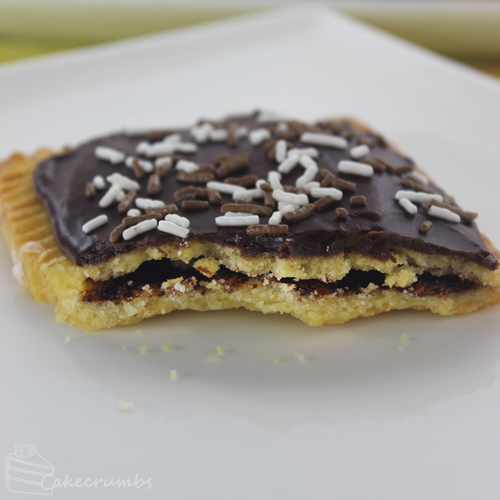
I was thrilled to discover the pastry came out exactly like I’d imagined it. All those gorgeous buttery and sugary flavours you want from a pastry with that perfect texture. It reminded me why this pastry recipe is one of my favourites! The caramelised raw sugar on the outside of the un-iced pop tarts was the icing on the proverbial cake. You really don’t even need the extra icing (aside from all those nostalgic reasons).
Both the nutella and the various jams worked perfectly as fillings and it was really hard to choose a favourite.
That was until I got to the apple and cinnamon one. Hands down winner in my book. This might be because it tastes like a miniature apple pie, just with tonnes of crispy pastry. Cam won’t get to try these until tomorrow, but I’m willing to be right now he’ll go just as nuts for this one as I did.
This recipe will make around a dozen pop tarts, perhaps more if you’re economical with your dough. If you want some left over for another time you can pop them in the freezer after assembling, and just let them come down to near room temperature before baking.
| Home-made Pop Tarts |
| Ingredients |
| Pasta Frolla
300g (10.6oz) unsalted butter, room temperature 150g (5.3oz) caster sugar 2 free range eggs 1 tsp vanilla essence 450g (15.9oz) plain flour, sifted pinch of salt egg wash Suggested Fillings
Icing (optional) Icing sugar Water Colours and/or flavourings Sprinkles |
| Method |
Pasta Frolla
Icing If icing the pop tarts you can make a very simple icing.
|


Thank you! I can’t wait to try these. They look very tempting.
Mmmmmm this sounds yummy – I’m going to have to try making a vegan version! We used to have pop tarts as a special treat 🙂
Oh my gosh! I’ve always wanted to try pop tarts! But they dont have them where I am! I will make them tonight!