
Butterscotch is one of my absolute favourite flavours. Drizzle a good butterscotch sauce on practically any pudding and I’m there. But outside of puddings, it’s almost unheard of in cake form here. In fact, the first time I heard of it was quite some years ago when an Indian family commissioned a cake from me and requested it for the flavour. They told me that back home it was quite the common flavour and fairly standard in most bakeries. I remember the sweet aroma that filled my kitchen as it baked. I was so jealous that I couldn’t taste this one and swore I’d make it again for myself soon.

Here we are quite some years later and I’m finally making one!

I couldn’t remember the recipe I used all those years ago. It was in some cook book somewhere. Nothing I googled looked much like what I remembered. But the thing that stood out to me about most of the cake recipes I found was that they just put brown sugar and butter in it and called it a day. To me, true butterscotch involved cooking the brown sugar in the butter. So it was time to experiment a little bit.
Doing it this way makes the batter quite heavy, so I separated the eggs. The yolks went in with the main batter, while I used the whites to make a meringue to lighten it up.


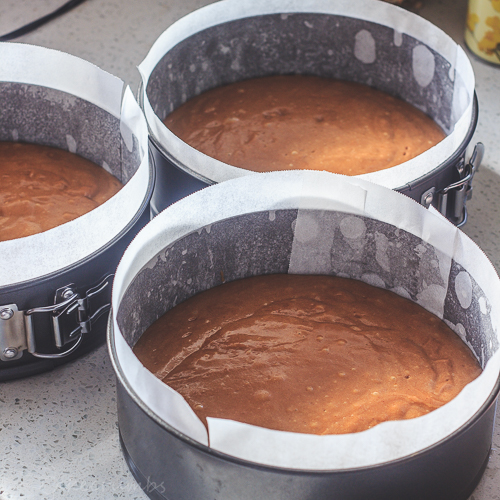
If you don’t have the luxury of having entirely too many baking tins like I do you can do them one at a time, but it saves you so much work.

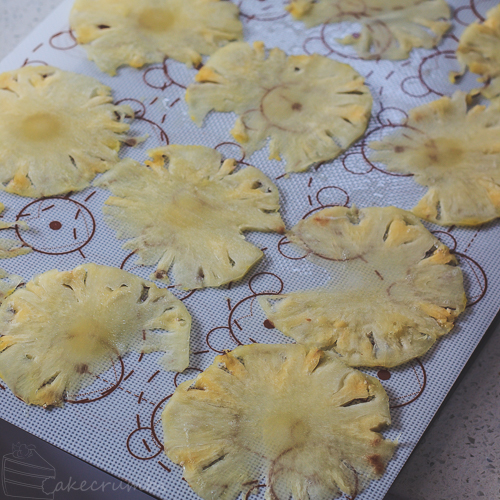
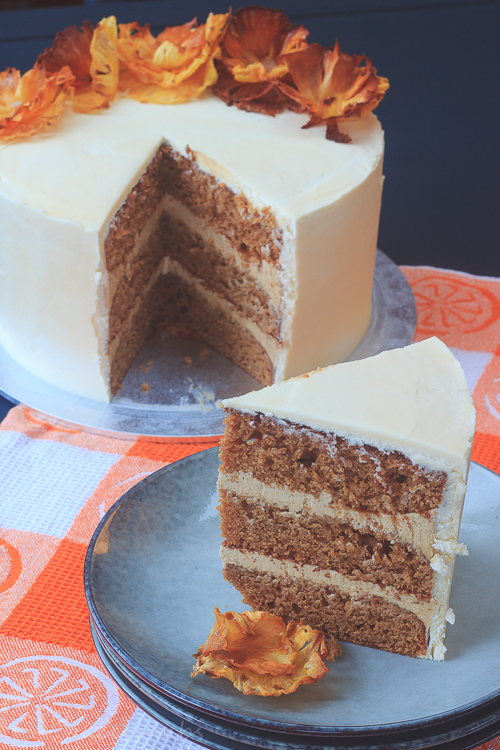
While they cooled I set about making the decorations. I went with very simple pineapple flowers, which are made by slicing the pineapple as thin as you can and baking it until dried out. The hardest part of this is getting the pineapple super thin and even.
For the filling I made a butterscotch buttercream, which involved cooking more brown sugar.

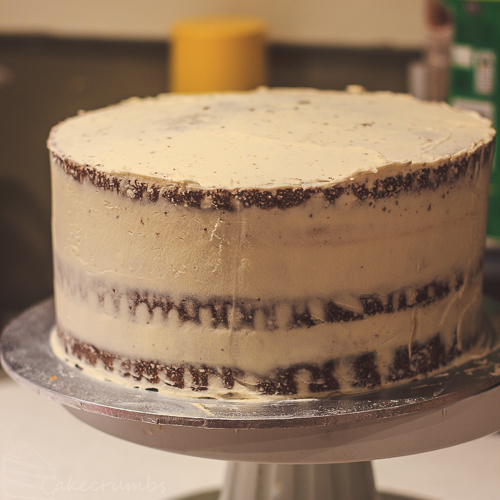
To ease off of all that caramel a little bit I coated it with a standard crusting buttercream, but instead of using water or milk in it I used a little pineapple juice. It’s far more subtle than a proper pineapple buttercream, but it’s just a little acidity to cut through all the caramel.

I layered the baked pineapple slices on top of each other to look like flowers, then adorned them on one side of the cake.


It was a very long time coming but absolutely worth the wait.
Here’s how I made this stack of butterscotch:
Butterscotch Layer Cake

A rich butterscotch cake, filled with a butterscotch buttercream and coated in a pineapple buttercream.
Ingredients
Butterscotch Cake• 180g (3/4 cup) butter
• 200g (1 cup) dark brown sugar, firmly packed
• 115g (1/2 cup) caster sugar
• 375g (2 1/2 cups) self-raising flour
• 375ml (1 1/2 cups) milk
• 2 free range eggs, separated
• 2 tsp vanilla essence
Butterscotch Buttercream
• 1 teaspoon gelatin
• 1 tablespoon tepid water
• 400g (2 cups) dark brown sugar, firmly packed
• 200g butter, chilled, cubed
• 125ml (1/2 cup) cream
• 125ml (1/2 cup) water
Pineapple Buttercream
• 125g (4 oz) butter, room temperature
• 375g (12oz) icing sugar
• 1 tbsp (20ml) pineapple juice (can sub for lemon juice if you don’t have pineapple handy) • 1 drop purple food colouring (optional)
Optional: dried pineapple slices
Directions
-
Butterscotch Cake
- Line 3 baking tins with baking paper. Preheat oven to 180°C/160°C fan forced/350°F
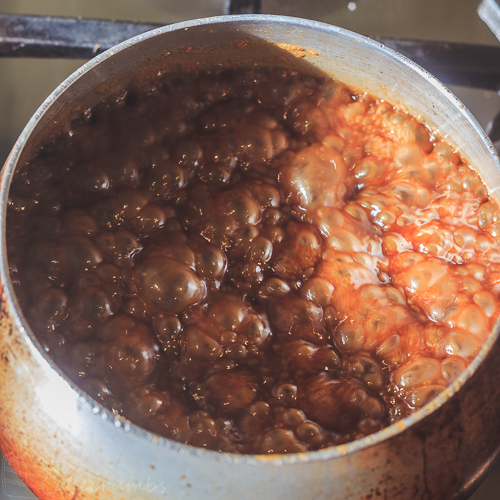
- In a medium saucepan, combine the butter and brown sugar. Stir over low heat until butter has melted and sugar has dissolved, then bring to the boil. Reduce heat back to low and cook for 5 minutes, or until mixture thickens slightly. Set aside to cool.
- Meanwhile, in a medium bowl beat the egg whites until fluffy. Sprinkle over half the caster sugar and keep beating until soft peaks form.
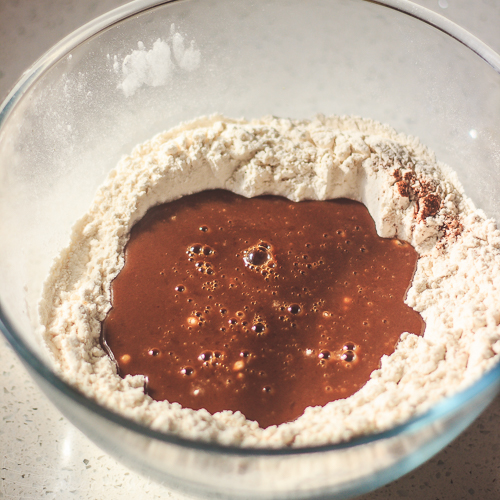
- In a large bowl, combine flour and the rest of the caster sugar. Make a well in the centre. Add the butterscotch mixture, egg yolks, milk and vanilla. Gently mix together until combined,
- Fold in the egg whites a third at a time until just combined.
- Divide mixture evenly between the cake tins. Bake for 20 minutes, or until cake springs back when lightly touched.
- Allow to cool for 10 minutes in the pan before turning cakes onto a wire rack to cool completely
-
Butterscotch Filling
- In a small bowl, add the water and sprinkle the gelatin over the top. Set aside to allow gelatin to bloom
- In a medium saucepan add the brown sugar, cream and water. Stir over medium heat until sugar dissolves; cook for approx 5 minutes. Add the bloomed gelatin and stir until dissolved through. Pour into a mixing bowl and allow cool to room temperature.
- When cooled, beat the mixture adding the butter a cube at a time. Mixture may curdle during this time but keep beating until it comes together and is light and fluffy.
- Pineapple Buttercream
- In a large mixing bowl, beat butter and icing sugar together until light and fluffy; add the pineapple juice and vanilla beat until combined.
- Optional step; add a tiny drop of purple food colouring. This will balance the yellow of the butter and bring it to a nice white colour.


Love the pineapple flowers!
Thank you!
Made this for my husband’s birthday – my first ever layered cake (I used your toothpick method!) and first ever buttercream. Worked really well, though I was a bit worried that the butterscotch buttercream would never come together! Persistence, and it ended up fine. Thank you!
I’m so thrilled to hear it! Congratulations on flying over your baking hurdle. I hope you and your husband enjoyed it and celebrating his birthday together. ♥